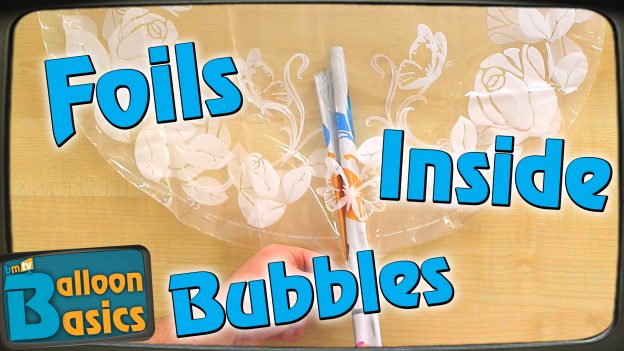
Hello and welcome to this episode of Balloon Basics where we learn from Mark Drury how to put a foil balloon inside a Deco Bubble and how to tie it off!
Adding a foil into a Deco Bubble is a simple way of adding a little more colour, excitement and interest into your creations.
You will need:
- 1 x Deco Bubble balloon
- 1 x 18″ foil balloon
- 1 x 160Q (air removed and a knot in the end!)
- Helium or a hand pump for air (depending on whether you’d like a helium filled or air-filled design. For helium, we recommend a trigger valve on an extension hose)
Firstly, open your Deco Bubble and lay it on a flat surface, and put in a small blast of helium.
Next, we need to roll up the foil so it’s very small. The best way to do this is to lay it on a flat surface and roll it along the table using the tips of your fingers like you would roll a paper scroll. You need to get this narrow enough to fit into the neck of the Deco Bubble.

Once rolled, slide it into the neck of the Deco Bubble. If you get to a point where it gets stuck, you can grab onto the end that’s inside the Deco Bubble and pull it through making sure you hold the neck. Make sure you keep the neck of the foil near the bottom of the neck of the Deco Bubble.

Try to unfold the foil as best as you can inside the bubble, this will make it easier to inflate.
Next, inflate the foil. Mark recommends using a trigger valve, as you will need the extra pressure this gives out. Now, slowly (so valve damage is limited) inflate the foil balloon using the trigger valve. Remember, the trigger valve doesn’t cut off automatically so watch out!
Once the foil is inflated, carefully remove the trigger valve out of the foil and insert this into the neck of the Deco Bubble. Hold on to the neck of the foil so that it doesn’t disappear inside and then inflate the bubble as you would usually until the creases have gone.

As the pressure inside the Deco Bubble is higher than that of inside the foil balloon, the foil balloon will appear squished. But it’s all fine, don’t worry! Slide the trigger valve out, being careful not to lose any helium, and insert it back inside the valve of the foil balloon and top it up so it doesn’t look so squishy.
Remove the trigger valve and twist the neck of the Deco Bubble and the foil together as many times as you can to keep the helium in the balloon, while keeping a grip on the neck.
Take your 160Q (with the air removed) and place the middle on the twisted balloon neck. Keeping a hand on the 160Q and the neck of the balloon, stretch one end of the 160Q as far as you can and wrap it around the neck (at least 4 times), making sure it’s always stretched. Swap hands and wrap the other way with the other end of the 160Q, again, making sure it’s always stretched.
Knot the ends of the 160Q together a few times to make sure it has a very tight seal that won’t come undone!

And that’s it! You can then go as crazy as you like with embellishments like collars, vinyl etc.
It’s a little bit fiddly to begin with, but once you’ve done a few it will be a piece of cake!
Happy creating!
Emily
As always, you can get in touch with us by commenting below, sending us an email or commenting on Facebook and Twitter. If you would like to receive these weekly video updates, you can either keeping checking this blog, subscribe to email updates in your account settings or you can subscribe to our Youtube channel.


