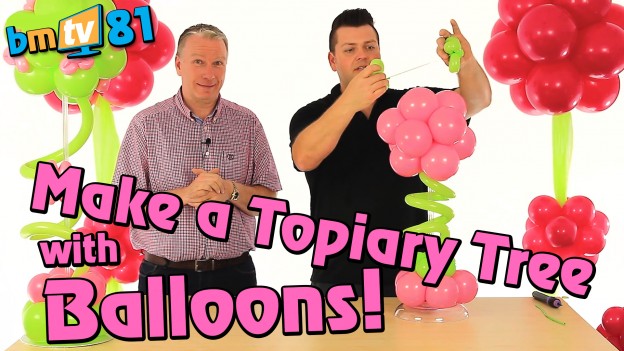
This week we welcome back Mark Drury from Qualatex.
We had a comment on one of our videos that asked us how to make a Topiary Tree out of balloons. We never showed you how to do that so Mark is going to show you now. All topiary trees start with the classic topiary ball shape so let’s get started!
You can make the topiary ball into any size you like but Mark is using 5-inch balloons here. He inflates 12 and ties them together into 6 duplets. He then wraps two duplets together into a cluster, then adds a third duplet by pulling it through the centre of the design and wrapping it around to secure it in place. He then does a fourth and carries on with this method until all the balloons are in place. Once you’re done, you can tell if you have everything thin the right place by going to any 1 face and counting out 5 balloons with one in the middle. You can see that you can create a flower pattern by changing the colour of the balloon in the centre for a nice floral tree. This is your topiary ball finished and you can play around with colours, sizes and even double-stuff the balloons for different effects. Get creative!
Now we’re going to make this into a tree by using a lomey dish and pedestal. Start by making a 5-balloon cluster (create two duplets and tie a third balloon into one duplet to make a triplet. Then wrap the triplet and duplet together to make the 5-balloon cluster). Attach the cluster to the base of the lomey pedestal by pushing it through and wrapping the balloon around each other. We make a 5-balloon cluster to create a link with the sphere at the top of the design but you could use a 4 balloon cluster if you wanted, this would just create a square at the bottom. Next we do the same with down-sized lime green balloons and add this to the design on-top of the base cluster.
Mark takes the air out of a 260Q balloon and wraps it around the top of the lomey pedestal, he ties this on to create a tying point. Next he places the topiary ball onto the pedestal and wraps the 260Q around to secure it. That’s your basic topiary tree and you could leave it at that if you want to, we’re not going to though! Mark adds a spiralled 260Q with tying points at either end and wraps that in to the base cluster at the bottom and topiary ball at the top. Mark also adds some more decorations such as a 6-petal flower and smaller 3-petal flowers to the design to create some added interest.
Topiary balls don’t just have to be centres for tables, you can create a topiary swag or hanging by creating different sized balls and pulling some tulle through them. Mark has used 11 inch down-sized to 8 inch for the main ball at the top of the decoration and a 5 inch balloon below that. We have attached them to the ceiling using click-click ringed magnets, tied through the tuelle with a 260Q to secure it in place. That’s all you need to do! The main benefit of decorations like this is that they are air-filled so are very cheap to make and still have the added impact of being enormous decorations.
That’s it from BMTV this week, see you next time!
Rob
As always, you can get in touch with us by commenting below, sending us an email or commenting on Facebook and Twitter. If you would like to receive these weekly video updates, you can either keeping checking this blog, subscribe to email updates in your account settings or you can subscribe to our Youtube channel.


